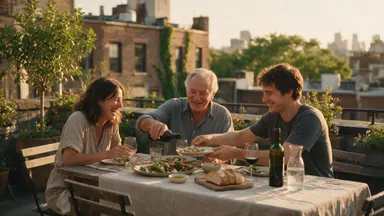
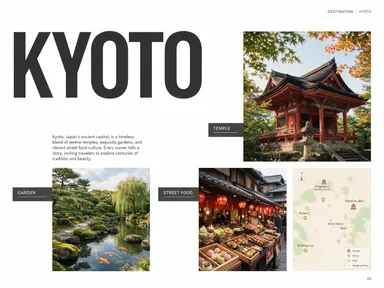
AI Photo Unblur
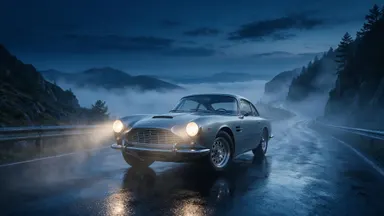
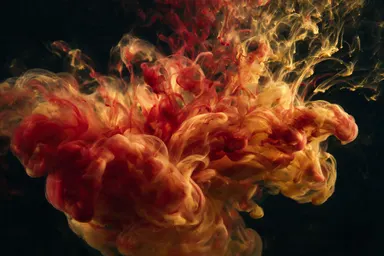
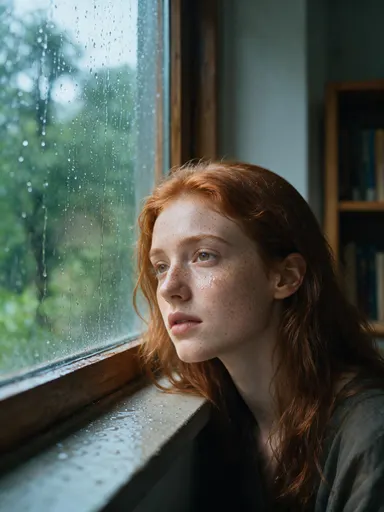
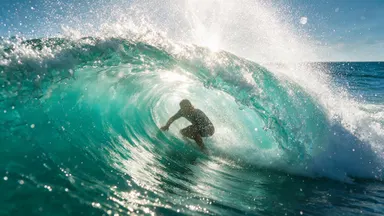
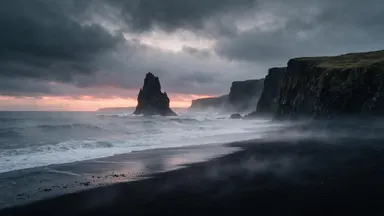
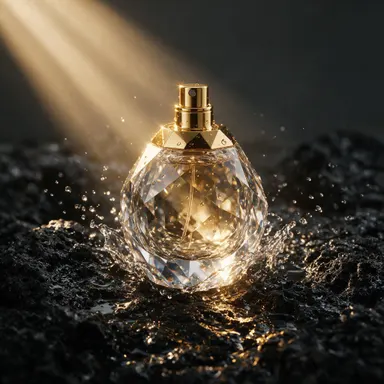
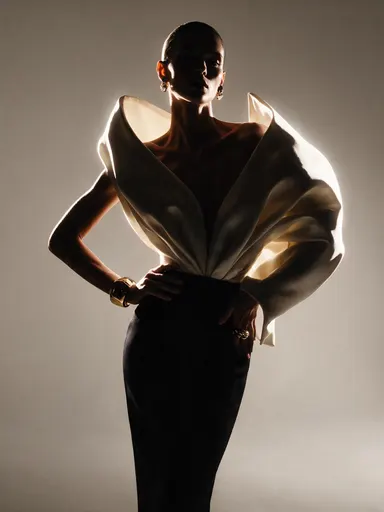
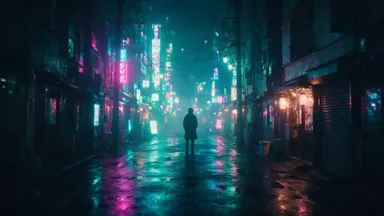
See the difference


How It Works
- 1Drop the blurry image into the workspace (JPG, PNG, or WebP).
- 2Optionally open advanced settings and set a seed to make the run repeatable.
- 3Run the deblur. It costs 1 credit and takes a few seconds.
- 4Download the sharpened frame, or send it straight into the upscaler or the enhancer.
Use Cases
Deblur, then upscale
Sharpen first and enlarge second. Upscaling a blurry source enlarges the blur, so running this workspace before the upscaler is what makes the 4K result worth having.
Rescue one frame from a burst
When only one shot of a sequence caught the moment and it caught it softly, this recovers the edges rather than asking you to reshoot.
Prep before a background change
The background changer keeps your subject and regenerates around it, so a crisp subject is what separates a clean composite from an obvious one.
Legible text in a photograph
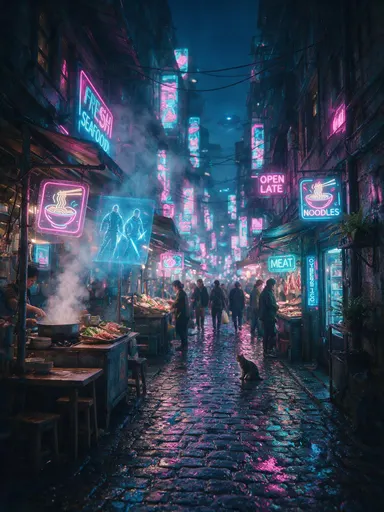
Signage, labels, and handwriting captured at the wrong shutter speed come back readable often enough to be worth 1 credit.
Frequently Asked Questions
What do I upload?+
One image in JPG, PNG, or WebP. There is nothing to select or mask first: the whole frame goes through in a single pass.
Which model runs on this page?+
NAFNet deblur. It is the only model on this workspace, so there is no picker to get wrong and the price does not change between runs.
What does one run cost?+
1 credit per image. The workspace shows the cost on the run button before anything is spent.
Can I re-run and get the same frame back?+
Yes. Advanced settings carry a seed field, so you can pin a run instead of leaving it random.